Here are some quick tips for using our meal planner.
Meal planner menu
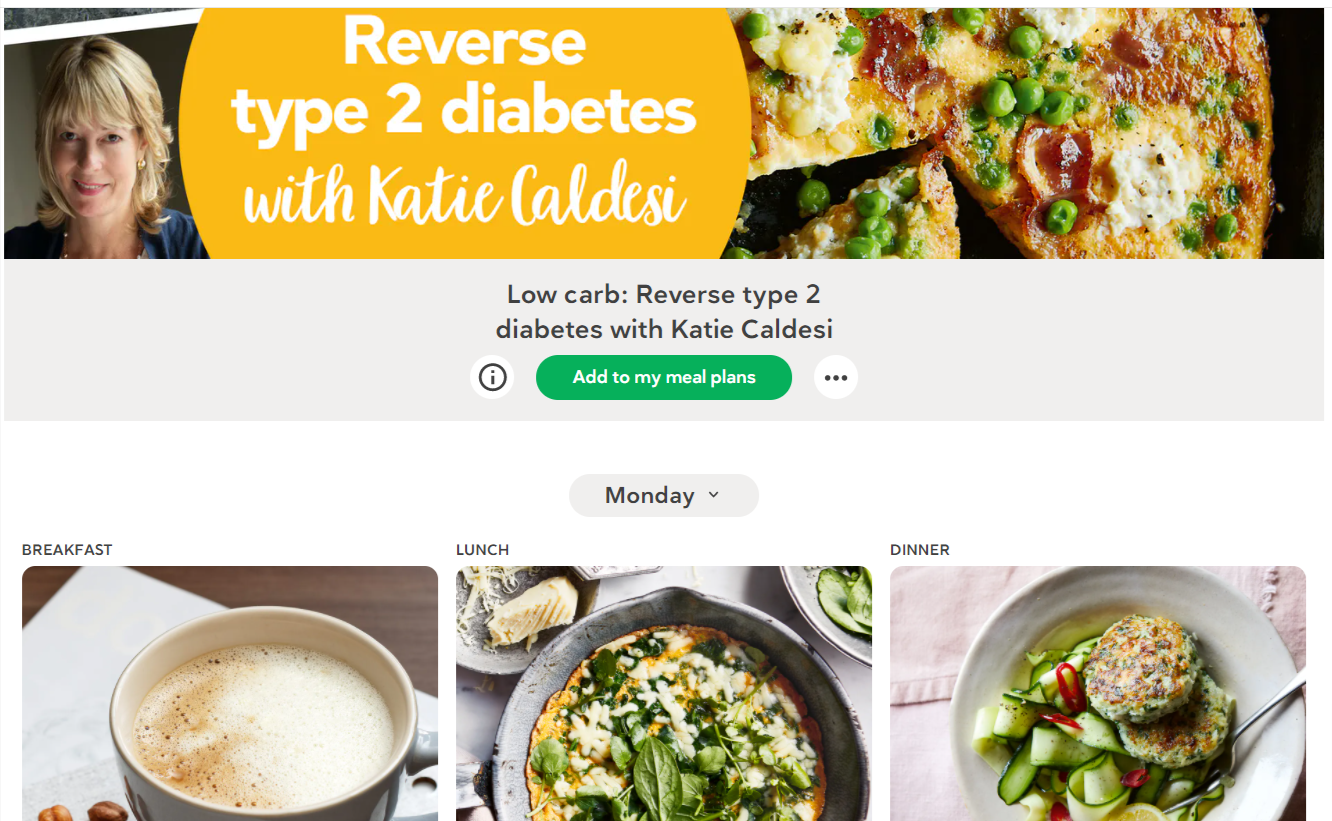
The top menu of the meal plan will allow you to do various things:
-
 The information button will provide a description about that specific meal plan
 -
 The Add to my meal plans button will allow you to activate the meal plan. This way, when you go to My meal plans page, you will see this meal plan at the top with your next meal highlighted
 -
 The 3 dots will allow you to take many actions for the entire meal plan. Please see the next section for what you can do
Meal planner actions
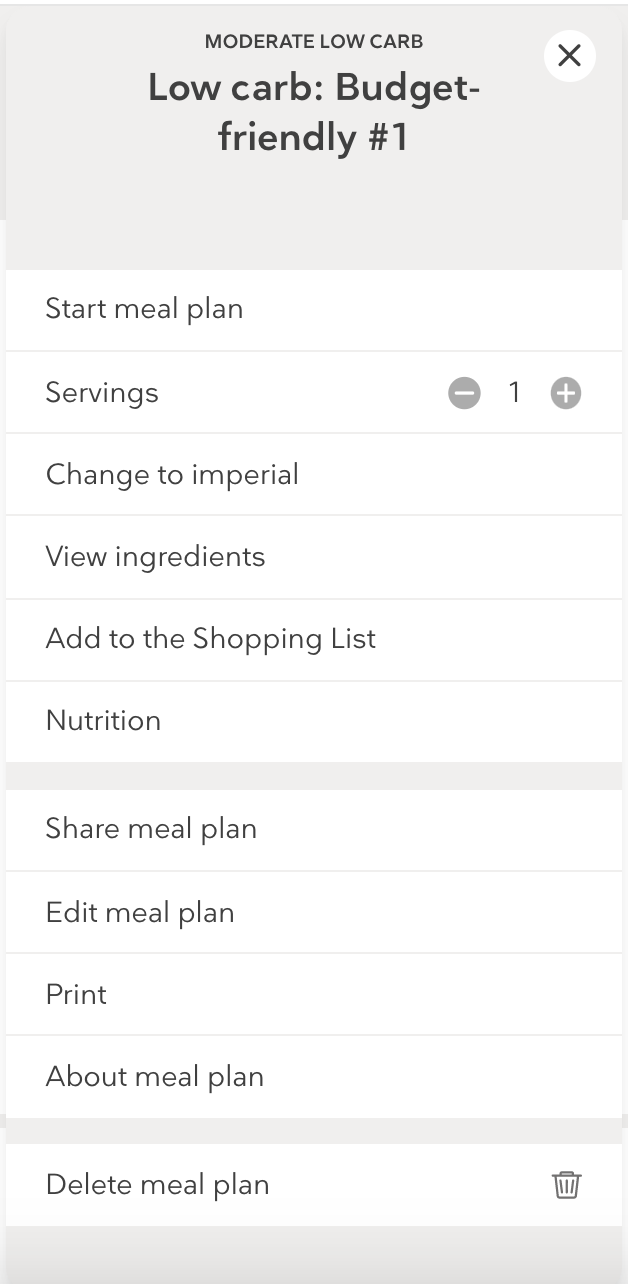
Located by clicking the 3 dots in the meal planner menu, you will find many actions that you can take:
-
Choose start to activate the meal plan and follow along. This way, when you go to "My meal plans" page, you will see this meal plan at the top of your list with your next meal highlighted
-
Change the servings to suit your needs. This will update the serving size for every recipe in the meal plan
-
Toggle between metric and imperial measurements depending on your preferences
-
View ingredients will allow you to look at all ingredients in the meal plan. If you would like to print the ingredients list, here you will see a print icon
-
You can also add ingredients to your shopping list. Located in the upper right corner of the Diet Doctor top menu, you can find your shopping list. Feel free to add your full meal plan ingredients to your shopping list where you can add your other shopping needs and print as well.
-
Nutrition provides you with average nutrition values per day for the week
-
If you choose to share, you can copy the link to share with another Diet Doctor member
-
Edit meal plan allows you to update the title and description of the meal plan, but not the recipes themselves
-
Print will provide you with a weekly and recipe overview to print out for the week. This will include a quick-look at the meals for the week and recipe instructions and ingredients for each day of the week.
-
About will provide a description about that specific meal plan
-
Delete will remove the meal plan entirely from your "My meal plans" page
Recipe actions
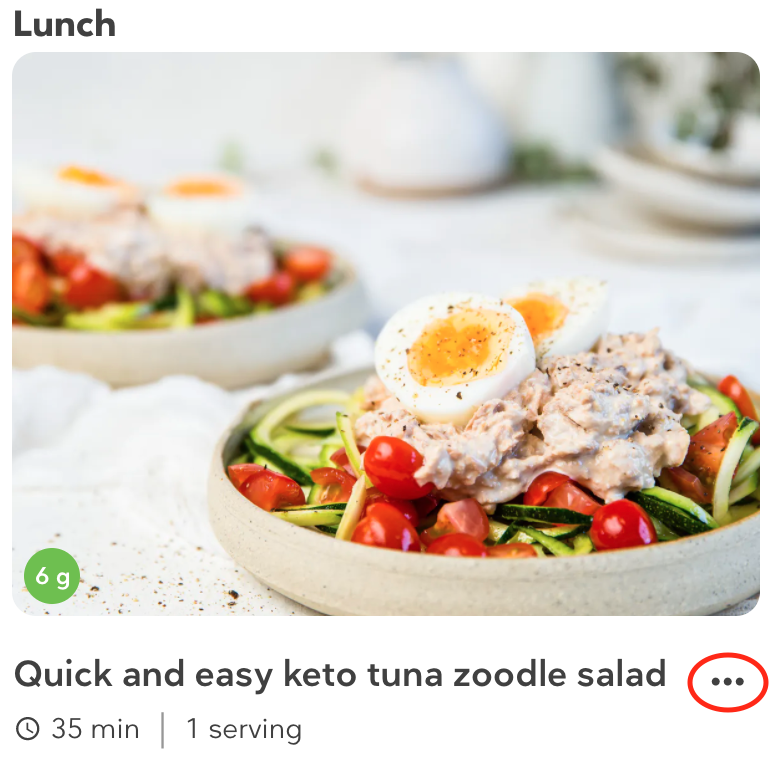
Looking to swap out, remove, or view a recipe? In the 3 dots next to each recipe, you can take the following actions:
-
Swap: Don't like the recipe? Swap it out with a different one. Look through suggested recipes, your favorites, or search through our entire collection
-
View: Take a look at the ingredients and instructions. Choose to go to the original recipes if you'd like to see the comments and more
-
Favorite: Love the recipe? Favorite it right in the meal planner!
-
Add to shopping list: You can add single recipes to your shopping list if you don't need to buy everything in your plan
-
Share: Share the link to the recipe with family and friends
-
Remove: Fasting for this meal? Remove the recipe to exclude breakfast, lunch, or dinner from your day
Adding sides, snacks, and desserts
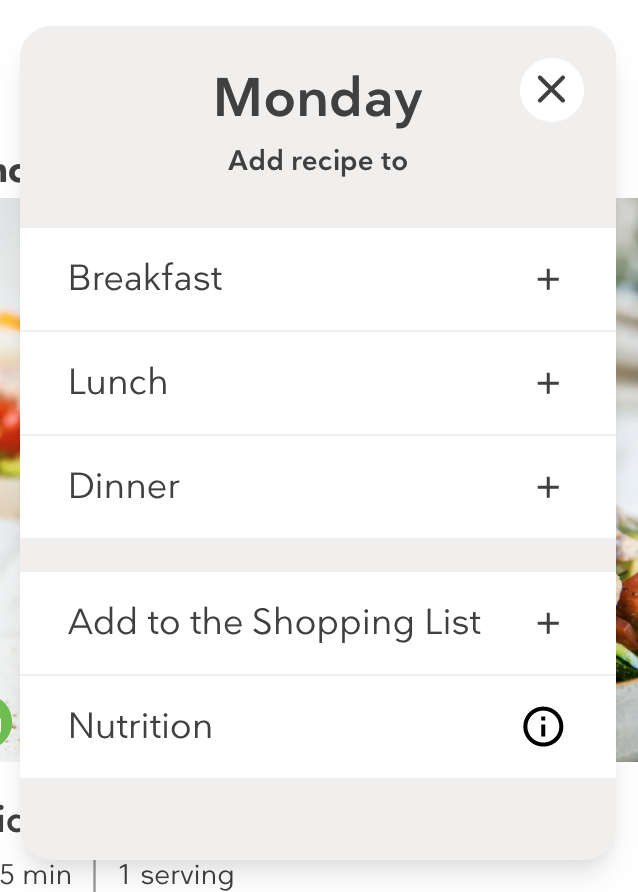
Now for each day of the week, you can add multiple recipes for breakfast, lunch, and dinner!
Say you would like to add a coffee and cream to your egg-breakfast. If the egg-breakfast is already there, click on Monday, choose Breakfast, and select a coffee recipe that you like. This will automatically add the recipe under Monday breakfast.
Good things to know:
-
This will update the daily nutrition information
-
You can remove any additional recipes you've added
-
You can only have 3 recipes per meal (breakfast, lunch, and dinner). This means that you can add a total of 9 recipes per day